4.24.2015

Earth Day!

It was Earth Day this week & that's sorta my thing... hence all the drawings of flowers, ferns, birds, and leaves... 

I was supposed to install a home this morning with some beautiful accessories and artwork, but my poor boy woke up sick, so instead I am working on a lovely flower child with a succulent crown today. I picture her soaking up the sun, but as I was drawing, it was actually raining here in Arizona (a rare occasion - but a welcoming one!).


So from my inner flower child, Happy Earth Day!

3.27.2015

Pop Up Shop!

I am so excited to be participating in the pop up shop this weekend hosted by Petite Party Studio

I have been drawing like crazy to get more prints available for my line of simple line works and will have lots of fun prints to showcase! There will be many local, talented vendors and a raffle prize worth $700! 
If you are in the area, head over to downtown Gilbert tomorrow and come see me!


2.25.2015

Art Shop: Up & Running!

I have some exciting news! 

I finally have some of my prints up and ready for sale! I have always loved drawing and have been wanting to expand what I do to encompass this creative side for me. 

I'm calling this little art shop of mine: simple line works
That's exactly what they are. Black and white, minimalist drawings that can be used for both traditional and modern environments. I'm working on a fun kids line too and am planning to add lots more drawings... and maybe even some watercoloring too! 


Each drawing is printed on 100% linen, acid-free paper, in many sizes from 4x4" up to 12x18". These reproductions are now in digital format so they can be scaled to any size and printed on any type of paper, including wrapped canvas.


I've seen lots of black and white art recently in the Pottery Barn catalogs and on pinterest, so I wanted to create prints that would fit into the standard sizes that fit the pottery barn frames and styles. 


This little 5x5" bird print looks so cute in this white Pottery Barn frame!


I love this 5x7" peony drawing with the Pottery Barn silver matted frame & paired with these adorable mini beaded silver-plated frames.


Of course, there are always Ikea frames too that will fit the 12x12" prints perfectly, like this hydrangea and nest.


I've been having lots of fun making these prints, and staging them as well! 

Visit my etsy shop to see more and order prints & follow me @simplelineworks!


1.21.2015

A New Year - Happy 2015!

I thought it would be fun to change things up a bit this year and include some of my other hobbies on this blog as well - all design related. This winter is a perfect time to start because my baby sister got married! It was a quick engagement and thus a very hectic holiday season for my family. With a new baby, the holidays, and planning a shower and reception I had little time to design... BUT I still had lots of fun creating beautiful spaces.

So, although it's not an interior design job, I did "design" her shower and I wanted to share.

Enjoy!
...

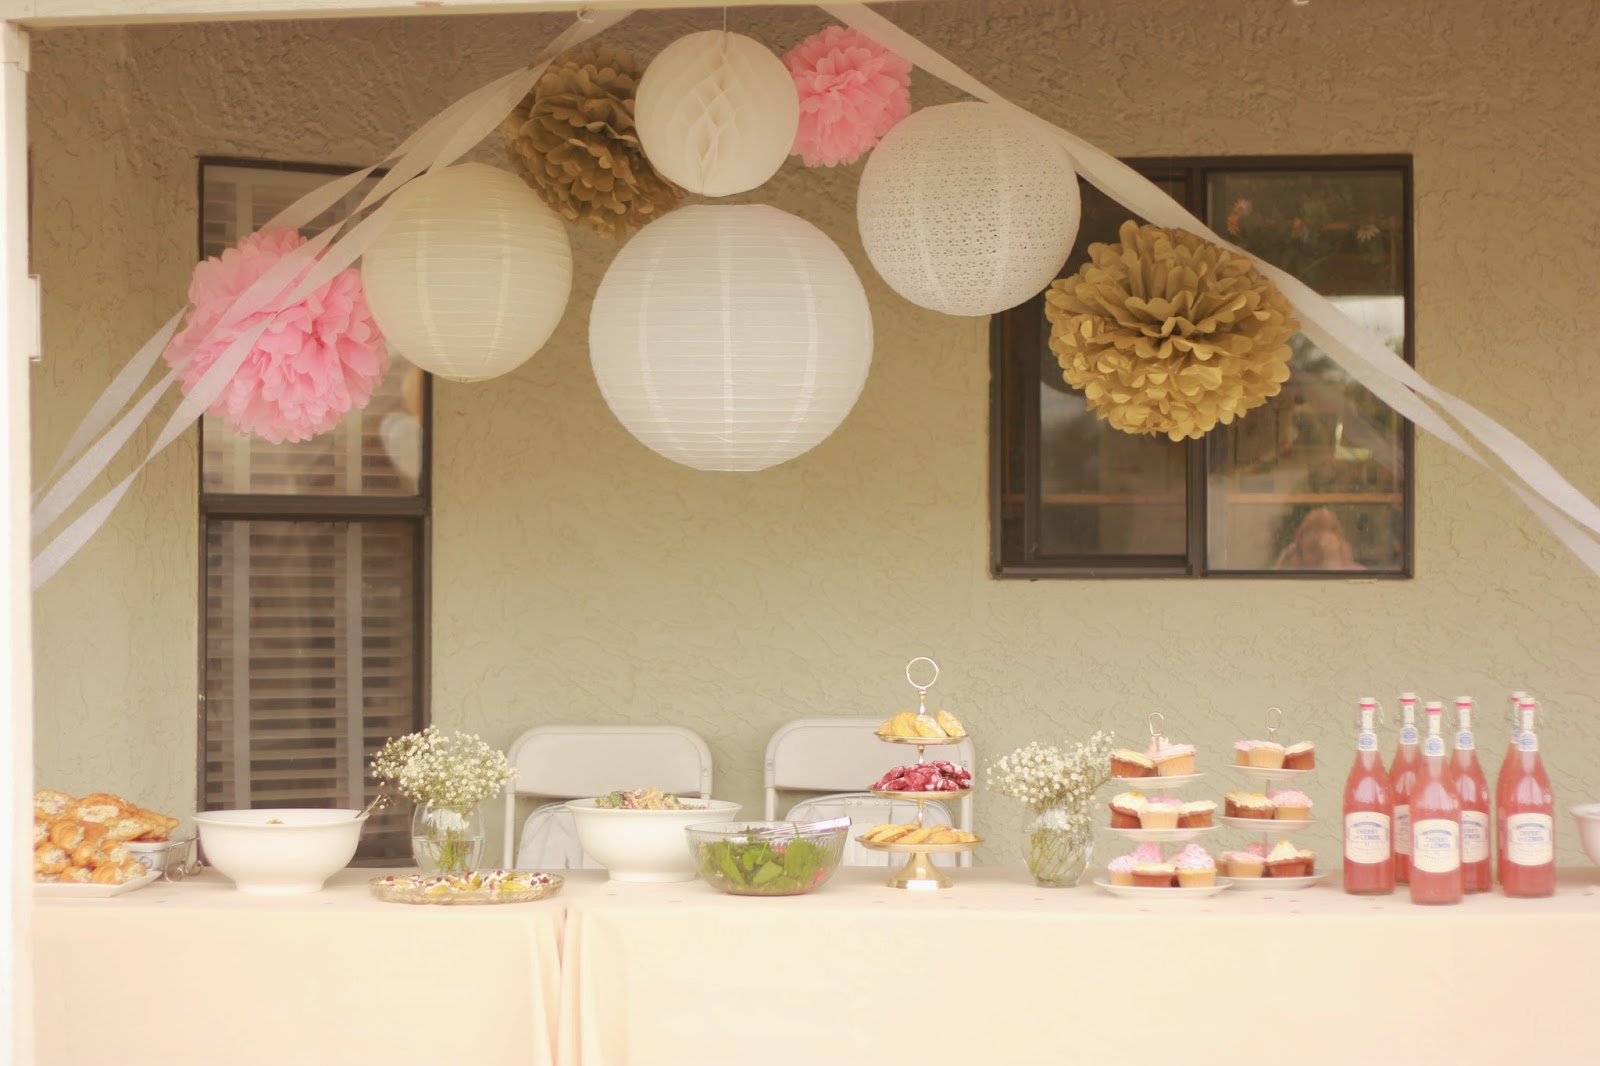
I planned her bridal shower for the first weekend in December and although it was a bit overcast, the weather was perfect and I was in love with her wedding colors: gold, ivory, white, and blush.


We had a late lunch which included these delicious drinks from World Market that not only looked super cute and chic, but tasted amazing too!


I ordered the hanging paper lanterns and tissue pom poms from Just Artifacts and finished it off with white streamers from the dollar store.


The event was in my parents backyard, the meeting grounds for most of our parties!


The sign in table had photos of the cute couple mounted on gold, ivory and blush pink cardstock and hung with mini clothespins from twine. Mini loaves of pumpkin bread were the favors inside the wicker basket.


The prize for winning the "He Said, She Said" game: Hand made sugar scrub.


Centerpieces were blush pink hydrangeas and baby's breath in a simple round glass vase that we got from the dollar store. Color coordinated 1/2" confetti surrounded the vases (from Etsy.) It's all in the details.


Congrats baby sis!


{This beautiful photo was taken by Sorensen Studios.}


11.02.2014

Happy Halloween!

Happy {belated} Halloween!

Fall is my favorite time of year. I love the changing colors of leaves, the cooler weather and all the pumpkins! In the past I have decorated for the autumn season, but never individually for Halloween and Thanksgiving, but this year I felt inspired to change it up.

It started with this wreath.


I made a white coffee filter wreath back in August and originally thought I would do something summery with it, but I couldn't think of anything I liked well enough to do... until I found this idea on pinterest. It was a Halloween wreath from shellyhickox.blogspot.com:


I used this photo as my inspiration and made it my own by adding more spiders, omitting the glitter (I hate glitter), and adding a welcome sign instead of the "boo" sign. I tinted the edges of it with black permanent marker and wrapped it with fake cobwebs. It was very easy to make as well as inexpensive!

I decided to keep with the black and white theme for my decorations too. My house is very neutral, with lots of grays, whites and creams, so the black and white decor fits right in! (Plus I thought it'd be fun to do something different since I plan to keep the typical oranges and browns for Thanksgiving.) I was on a budget with a baby on the way, so I used some items I already had and made some new things with the help of the dollar store.


I pretty much keep to the piano and my kitchen table when doing holiday decorating... I can't stand too much clutter! 

I was most excited about using my bell jar to hold skeleton bones! The bones that Pottery Barn had in their catalog this year inspired me for that, but those were too big & much too expensive. Instead I bought a hanging skeleton using a coupon at Jo-Ann Fabric and disassembled it to fit all the pieces into the jar. That, along with the black and white pumpkins that I got from Michaels for 30% off, were the most expensive items. Everything else was from the dollar store!


I saw this cute idea from Midwest Living to make a haunted house backdrop with candles lighting it up from behind so I made my own using black poster board and cardboard. They had spiderweb votives illuminating the front, so I made my own using votives from the dollar store that came 3 in a pack and drawing my own web using a permanent marker! The creepy rats are also from the dollar store and they did their job - my 4 year old was terrified of them!


I wrapped the mirror with cobwebs and spiders, so easy and so spooky!


The flying bats are made out of black foam and I used the Martha Stewart template for those. I also made some extras to hang from the chandelier in the kitchen nook. 


I loved the above idea from Martha Stewart, but thought it would be too much work to find and paint a branch... so instead I hung them in clusters.


Despite my late posting, I had everything decorated in September since I had a baby on the way and my nesting mode was in full swing! My 4 year old son wanted to be Thor for Halloween so in July I started making the costumes for the rest of us... (disclaimer: I am not a seamstress, but I try, and for Halloween especially I don't stress over the costumes being perfect.) 

On September 28th we welcomed our baby girl into our family! 
So from the FOUR of us, 

Happy Halloween!


Thor, Lady Sif, Jane Foster & Loki


8.25.2014

DIY Storage Baskets

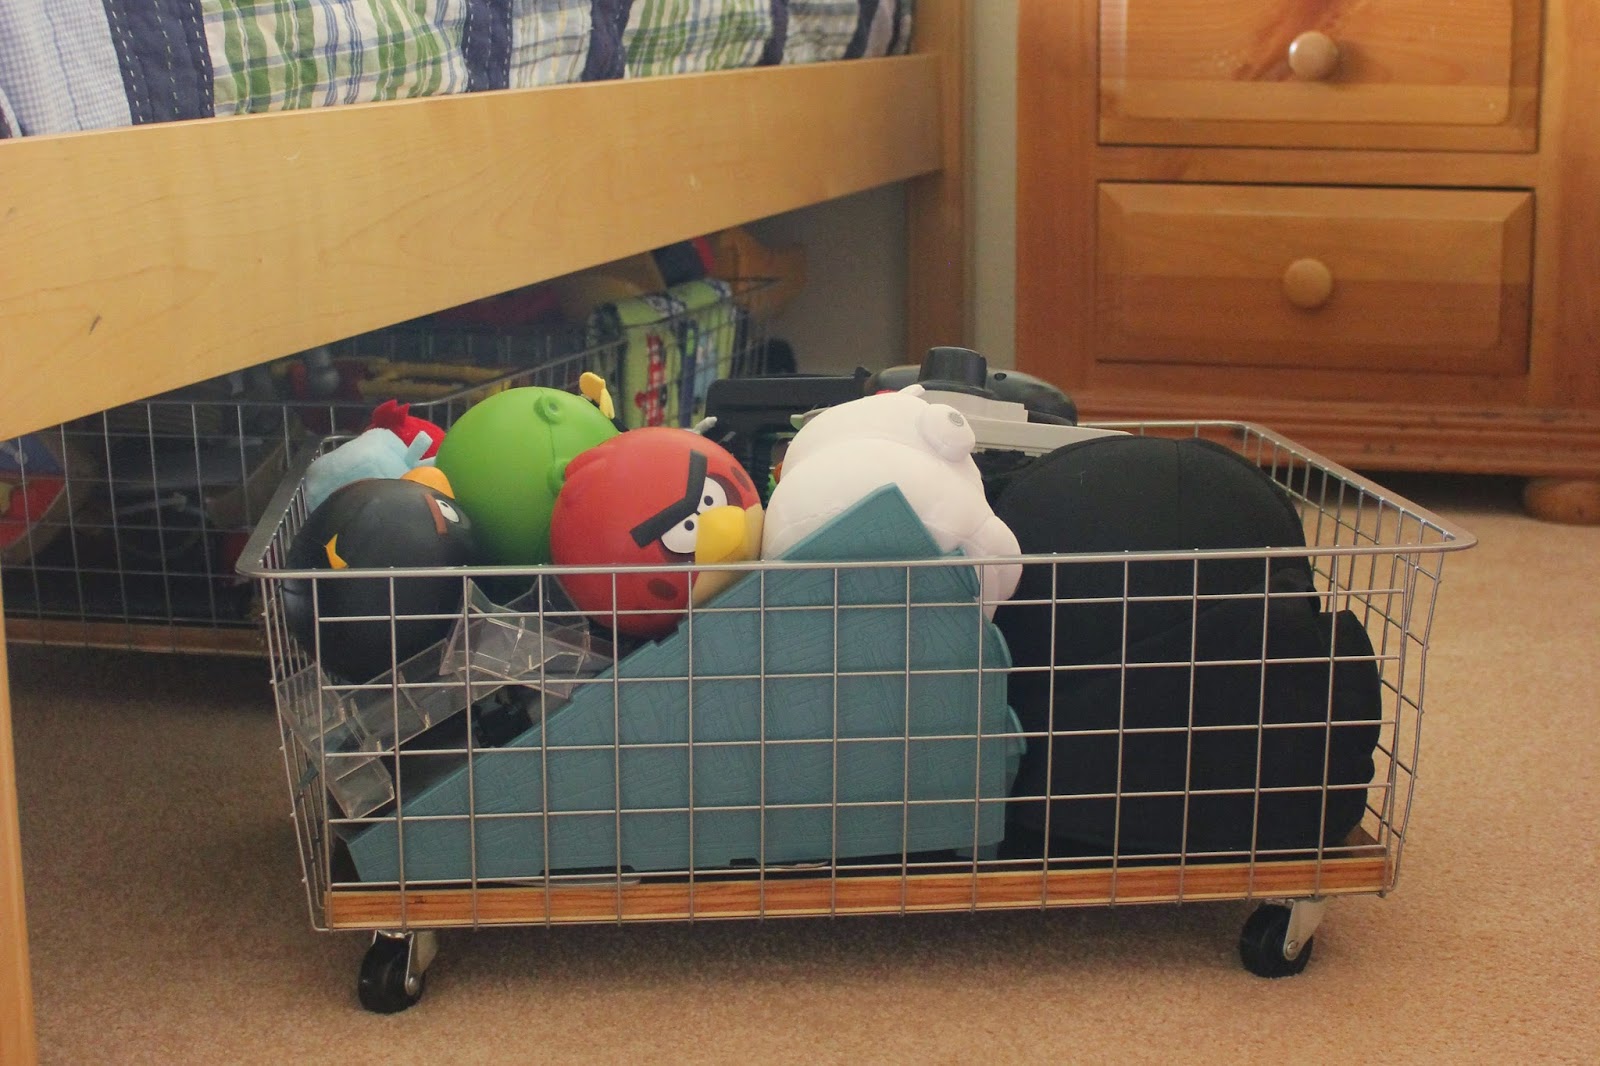
I have been in the nesting mode for the past few months and have been organizing my house like crazy! Baby no. 2 will be here soon and I desperately feel the need to get everything in order. So, one of the rooms on my list of "to do's" was my sons room. He has a ton of toys and now that I am using his closet as storage for the new baby clothes I needed to a way to store some of those toys; preferably out of sight. I thought the best way to do that would be to utilize the area under his bed. I was particular though, I wanted baskets that could roll and that weren't too expensive... it was nearly impossible to find.

 I happened to be at The Container Store and found some metal baskets on clearance and decided I would make my own rolling storage carts with them. They turned out pretty good I must say, so here's a simple tutorial in case you'd like to make your own!


I made three of them, but I probably could have fit four under his twin bed. 
These are the elfa drawers from the Container Store, on clearance for $8.00 a basket (normally $16.00)!

Next step was to get the wood and cut it to size to fit inside the basket (this will be used to easily mount the wheels). I bought a walnut veneer board at a local wood store for $23.00. I needed three rectangular pieces and the size of the board was just enough - as you see I had two scrap pieces left over after cutting.


After I cut the first piece I made sure that it fit well in the basket.


I liked the color of the wood as it was, but wanted it to be durable, so I put a couple coatings of clear polyurethane on them.


Once that was dry I could mount the wheels!


These wheels are from Home Depot and they are the 1-1/2" rubber wheel swivel plate casters. Since I was installing over the metal basket, I used two washers under each screw to help lift the plate. Note that once screwed in, the plate should be very tight to the board. My wood board was about 3/4" thick and I used 5/8" long screws.

To mount them, I put the basket with wood upside down over a bucket (covered with a rag so I didn't scratch it) - then just screw them in! 


With one in each corner you will need lots of washers and screws!


All finished! I think it would be cute to add leather handles or maybe a chalkboard tag to it, but for now these do the job and I'm happy with how they turned out, they're durable and so cute.


7.22.2014

One Kings Lane: Vendor Spotlight

Last post I spotlighted Joss & Main and did a mock living room design based off some of their pieces so I thought this time I would showcase some of the fun finds that One Kings Lane has to offer. They have some really neat vintage pieces and it's so fun to browse through their selection! One Kings Lane can be a bit pricier than Joss & Main, but both of these websites offer new items daily, and once it's gone - it's gone! So if you love it, get it!


I started my research looking through the "Cottage Charm" collection, where I was first drawn in (& where I found that adorable sofa!) But after finding that unique garden stool and fun, colorful rug I ended up going in a different direction than my typical neutral palette. I love the mix of vintage items and colorful accents.

Sloane Chair, $1,399.00
Samui Coffee Table, $1,949.00